 Let your inner explorer discover what makes your favorite outdoor space unique
Studies show that learning about nature and connecting with the natural environment supports happiness and health, reduces stress, enhances concentration, and boosts learning. Map-making is a great way to explore your favorite outdoor space and practice important skills like observation, drawing, measuring, navigation, and more!
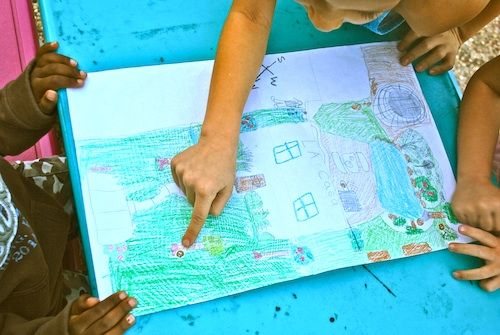
Create a map of your favorite outdoor space and highlight the features that you love most. Imagine showing your map to someone who'd never seen the space before. Emphasize the areas in your map that you would show them first.
Get your map started by following these simple steps:
1. Gather your materials
You'll need paper, something to write with, a hard surface like a clipboard, and your favorite artistic items like crayons, markers, paints, or chalk. Want to get accurate measurements for your map? Bring measuring tape (or you can provide measurements in the form of one kid footstep).
2. Choose a location and boundaries
Decide the location and boundaries for your map. You can use your backyard, a part of your neighborhood, a local park, your school playground, or anywhere else that you love - make sure to decide on boundaries. What will you include and what will you not include?
What shape is your area? Is it a rectangle, a triangle, or a circle? Draw the shape on your paper to start your map.
3. Scout your landmarks and start your observations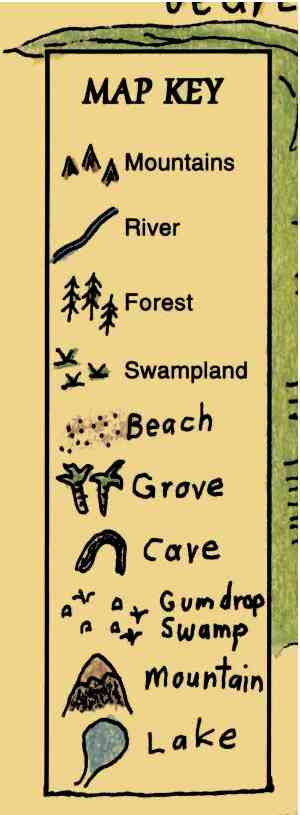
Walk around the space and make note of any specific features or landmarks. Are there trees or other big plants? How many? Where are they in relation to the outline you drew in the last step? Other potential landmarks could include tables, chairs, playground equipment, flowers, buildings, animals, and more. As you scout the area, sketch the landmarks on your map.
Want a more accurate map? Measure the distance or count the steps between landmarks. You may also want to use a compass to help others identify direction.
4. Create a key
Now that you have a basic outline of the space and the various objects in it, it's time to start a key. Pick simple symbols to represent the landmarks, like a picture of a leaf in place of a tree or the same flower image for the various plants in the space. Make sure to include a legend, or an explanation of the key, somewhere on the map.
 5. Add your finishing touches
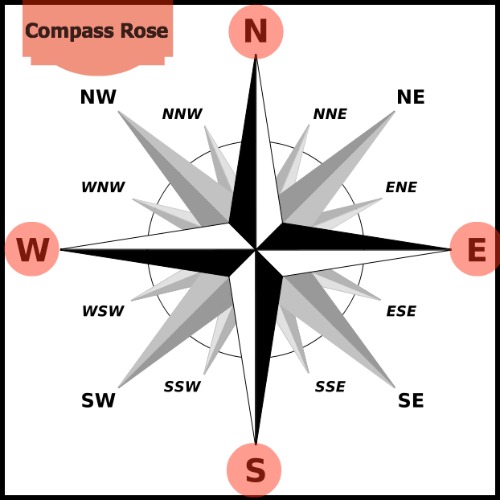
By now, you should have the space all mapped out. If you have a compass, try to add the directions into your map with a compass rose, pictured here. Then, start coloring!
Don't forget to send us a photo of your map. Make sure to tag @peancorg and #PEAYoungLeaders to be entered into the weekly Young Eco Leaders Raffle.
CLICK HERE TO RETURN TO THE LIST OF ALL YOUNG ECO LEADERS ACTIVITIES